


How To Change A Belt On Polaris Ranger - A Step-By-Step Guide!
Even though the Polaris Ranger is one of the most reliable and versatile off-road vehicles on the market today, every now and then, it’ll need a belt change. Knowing how to change the belt is a crucial skill if you want to be able to maintain its high-performance operation.
In our step-by-step guide, we’re going to give you the lowdown on what you need to change the belt on your Polaris Ranger with confidence.
Let’s dive in!
- When Should I Replace My Polaris Ranger Belt?
- How Do I Know If My Polaris Ranger Belt Is Bad?
- How Much Does It Cost To Replace A Drive Belt On A Polaris Ranger?
- Tools And Materials For Changing The Belt On Polaris Ranger
- Step-By-Step Guide: How To Change The Belt On Your Polaris Ranger 1000/900/570
- Tips And Tricks For A Smooth Belt Replacement Process
- Troubleshooting Common Issues After A Belt Change
- Prolong Your Polaris Ranger's Belt Life With Proper Maintenance
- Conclusion
When Should I Replace My Polaris Ranger Belt?
Most riders say they can expect to get anywhere from 1,000 to 1,500 miles out of a single belt. However, when it comes to an exact answer to this question, it truly depends on the signs your Ranger is giving you.
How Do I Know If My Polaris Ranger Belt Is Bad?

There are a few ways to know if the belt on your Polaris Ranger is bad. Here are a few of the most important things to keep your eye out for:
-
Visible Wear: If, during your regular inspections, you notice signs of wear, such as cracks, fraying, significant damage, or deterioration, it's a clear indication that the belt needs to be replaced.
-
Reduced Power: If you experience a loss of power or notice the belt slipping during acceleration or while climbing steep inclines, it may indicate that the belt has become worn out and is no longer providing optimal power transfer.
-
Squealing Noise: Worn-out belts will often produce a nasty squealing noise, especially when starting the engine or engaging the transmission.
-
Excessive Heat: If you feel excessive heat coming from the belt area or notice a burning smell while operating the vehicle, it could be a sign of a deteriorating belt.
The best thing you can do is be proactive about changing your belt so you don’t end up dealing with worse problems down the road.
How Much Does It Cost To Replace A Drive Belt On A Polaris Ranger?
On average, you can expect to spend anywhere from around $50 to $150 on a belt for a Polaris Ranger.
Just note that the average cost of replacing a drive belt on a Polaris Ranger can vary depending on the specific Ranger model, the specific belt required, and where you get the replacement done if you decide not to change it yourself.
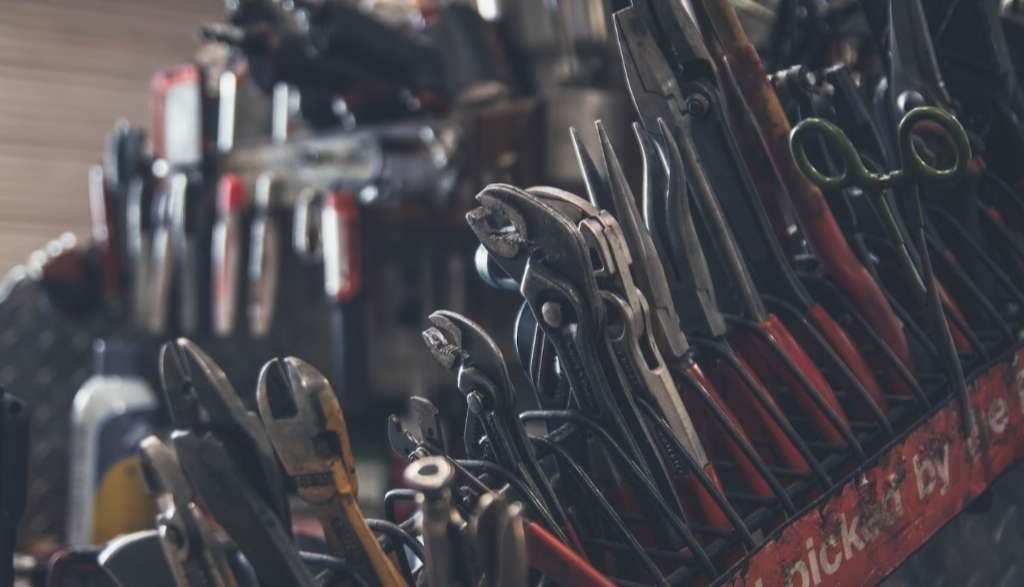
Tools And Materials For Changing The Belt On Polaris Ranger
Let’s start by looking at the necessary tools you’ll need to change the belt on your Polaris Ranger:
- Replacement belt
- Socket and ratchet set
- Torque wrench
- Screwdrivers
- Safety goggles
- Work light (if not in a well-lit area)
- Compressed air
- Clean cloth or towel
- Belt cleaner (optional)
You can find high-quality drive belts here at Kemimoto in our lineup of Polaris Ranger accessories.

Step-By-Step Guide: How To Change The Belt On Your Polaris Ranger 1000/900/570

When changing the drive belt on your Polaris Ranger, you want to make sure it’s parked on a level surface in a well-lit area.
1. Airbox Removal: Start by tilting the cargo bed back and loosening the hose clamps with your screwdriver to remove the intake boots on the front and back of the air box. Then, using your torque wrench, you can remove the three bolts to move the airbox up and out of the way of the belt cover.
2. Remove the Grease Zerk: Untighten the grease zerk with your wrench and remove it.
3. Remove the Clutch Cover: Take out all of the bolts around the perimeter of the clutch cover.
4. Remove the Belt: There are a few different ways to remove the belt, though we’re going to explain it in the most practical way. Start by tugging on the sheaves and pulling the center portion of the belt together so that they spread apart. Carefully walk it out of place with your hands and rotate it counter-clockwise to fully remove it.
5. Clean Around the Clutch: Before you install your new belt, you want to clean up around the clutch. You can use compressed air or a clean cloth to do so. Make sure there are no ridges or grooves on the clutches by feeling around them with your hands.
6. Replace the Belt: Work the belt around the drive clutch and onto the driven clutch. If there are arrows on your drive belt, make sure they are facing the front of the vehicle. Turn it a few times to make sure it’s in place.
7. Reinstall the Belt Cover: Make sure the plastic piece is lined up so you can easily retighten the bolts.
8. Reinstall the Grease Zerk: Make sure it’s snug and tight.
9. Reinstall the Airbox: Using your torque wrench and screwdriver, reinstall your airbox and tilt the cargo bed upright.
Tips And Tricks For A Smooth Belt Replacement Process
There are a few ways in which you can make the belt replacement process as smooth as possible.
For starters, before removing the old belt, take pictures or make notes of the belt routing and how it is installed. This will serve as a helpful reference when installing the new belt.
Once the belt is removed, take the opportunity to inspect the pulleys and other components for any signs of wear or damage. If any components appear worn or damaged, we recommend replacing those as well. This will stop you from having to deal with more significant problems down the road.
Lastly, during the reinstallation process, ensure you’re tightening your torque bolts to spec.
Over-tightening can damage components, while under-tightening can cause loosening and potential failure, so check your manual to see what’s optimal.
Troubleshooting Common Issues After A Belt Change
Many riders complain about hearing squealing or chirping noises after belt installation.
This is often a sign that this belt is misaligned or not making full contact. Check the belt routing and ensure it is properly aligned with the pulleys and that all of the components and fasteners are securely tightened.
If you notice premature wear shortly after the replacement, it may be an underlying issue. Check the pulleys, clutch assembly, and other components for any sharp edges or damage that may be causing excessive wear.
If you’ll find any issues with damaged components, replace them as soon as possible.
Prolong Your Polaris Ranger's Belt Life With Proper Maintenance
Let’s look at a few ways you can prolong your Polaris Ranger’s belt life:
-
Schedule Regular Inspections: Take your Ranger to a mechanic every 1,000 miles to have your belt inspected for signs of wear, fraying, cracks, or any other damage.
-
Monitor Wear and Tear: Regularly check your belt on your own for any signs of wear. Also, make sure to inspect the tension and alignment to ensure it meets the manufacturer's specifications.
-
Follow Recommended Maintenance Guidelines: Follow the recommended maintenance schedule provided by the manufacturer to keep it running optimally.
Conclusion
There you go! You've successfully changed the belt on your Polaris Ranger.
Doing so is a critical part of your maintenance routine, and performing regular belt inspections and adherence to maintenance schedules will go a long way in maximizing the lifespan of your new belt.
Now that you have the expertise to keep your Polaris Ranger running smoothly and effortlessly, we wish you the best of luck out there on the trails!
FAQs
1. How often should I replace my belt?
Most Polaris Ranger riders recommend replacing the belt every 1,000 to 1,500 miles. However, it’s important to keep your eyes out for signs of wear and tear.
2. Can I change the belt change myself, or should I take it to a professional?With the guide above, you can change the belt on your Polaris Ranger all on your own! However, if you don’t have the proper tools or feel nervous about changing it yourself, you can absolutely take it to a pro.
3. What is the break-in period for a new belt?The break-in period for a belt will vary, though usually if you check your product manual, it will give you information on how to optimize the longevity of the belt with proper break-in procedures.
very informative, thanks .i,m driving my new polaris northstar 2023 across KANSAS too the COLORADO BORDER OCTOBER 2024. PUTTING BACK TIRES IN THE MISSOURI RIVER near Atchison, and driving across kansas. I’ll have two spar belts with me lol
Very complete and useful.
Leave a comment